Latest News & Upcoming Events
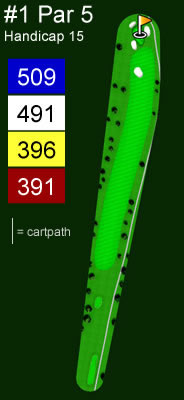
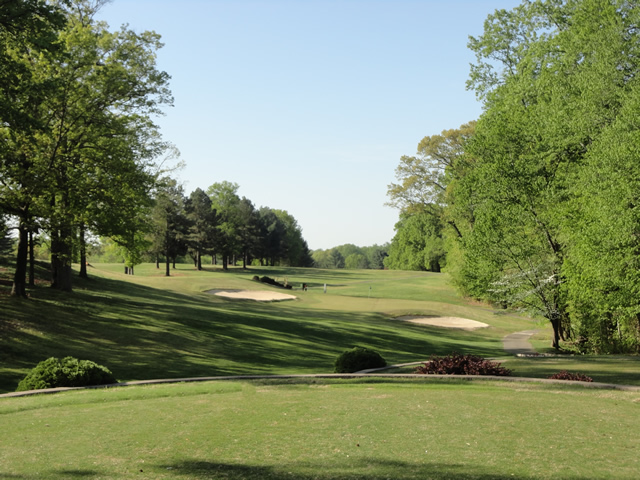
Hole #1
The first hole is a par 5 that requires an accurate tee shot with out of bounds to the right and a natural area to the left. There are three sand traps on each side of the green with an additional sand trap twenty yards short of the green that comes into play with your approach shot. A good starting hole to try and aggressively score on.
Click on the image below to view a larger version.
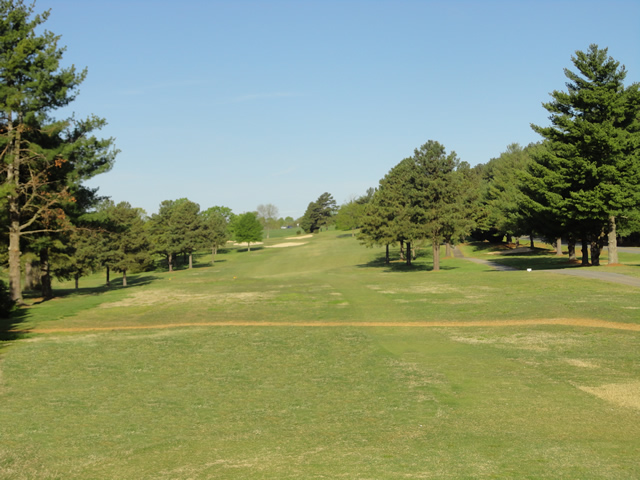
The Tee Shot
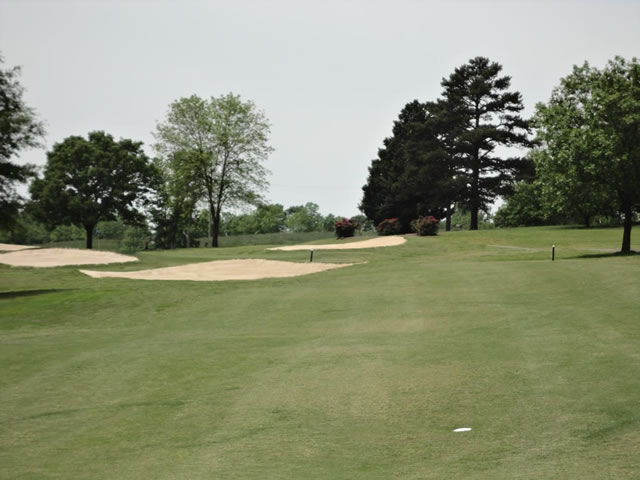
The Approach
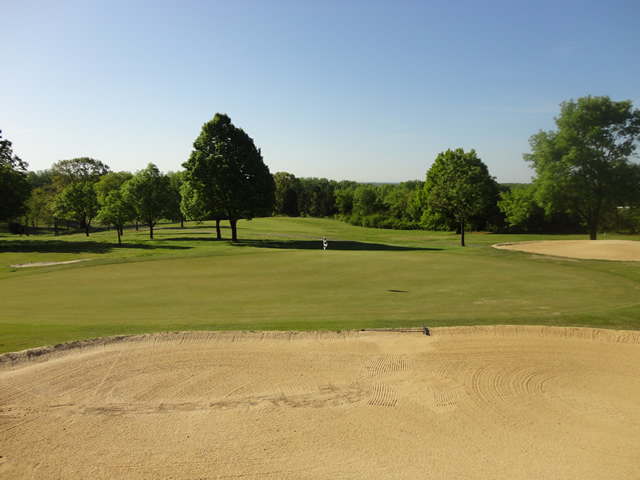
The Green
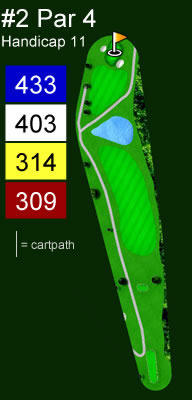
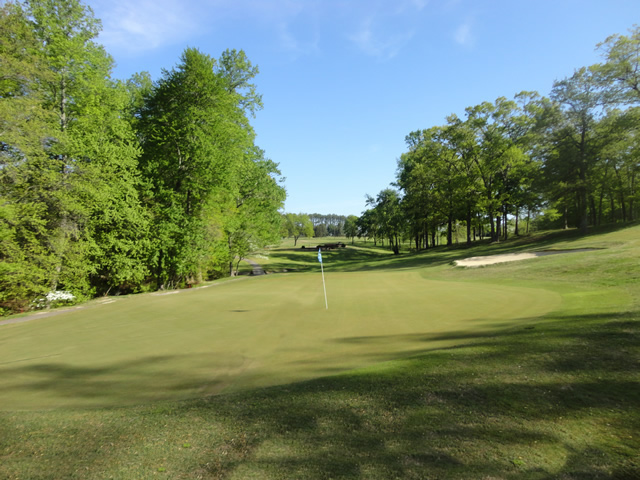
Hole #2
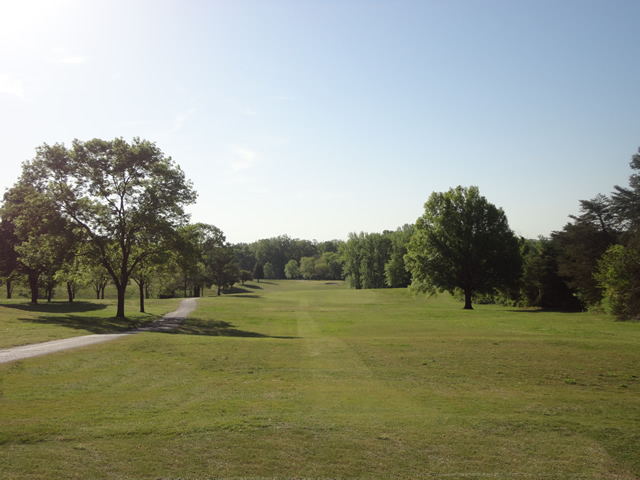
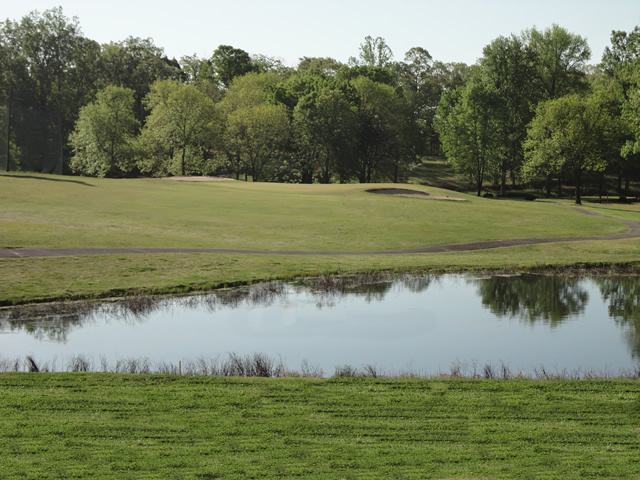
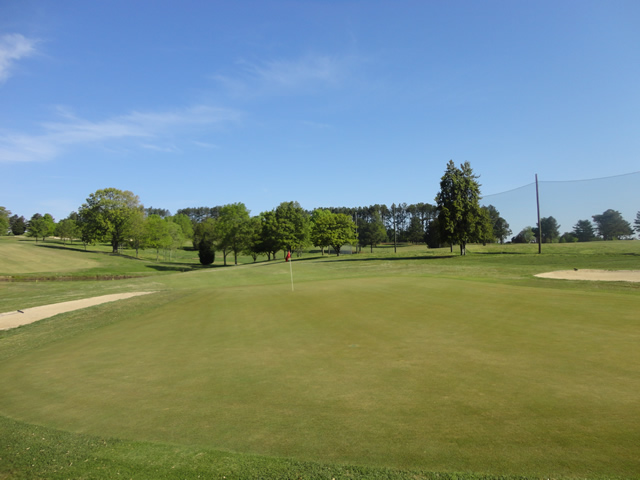
This par 4 has water that comes into play from the tee. Out of bounds to the right and a natural area to the left requires a straight tee shot down the middle. An approach shot over the water to a large green with sand traps flanking each side.
Click on the image below to view a larger version.
The Tee Shot
The Approach
The Green
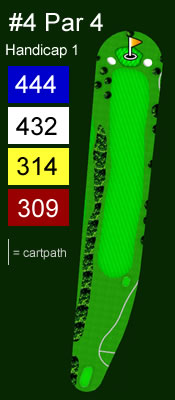
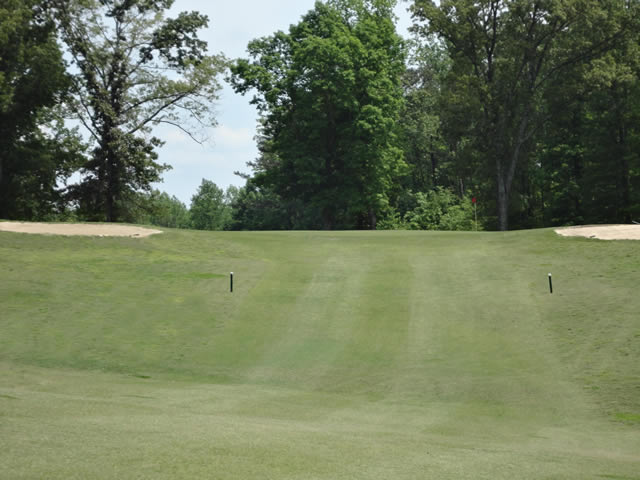
Hole #4
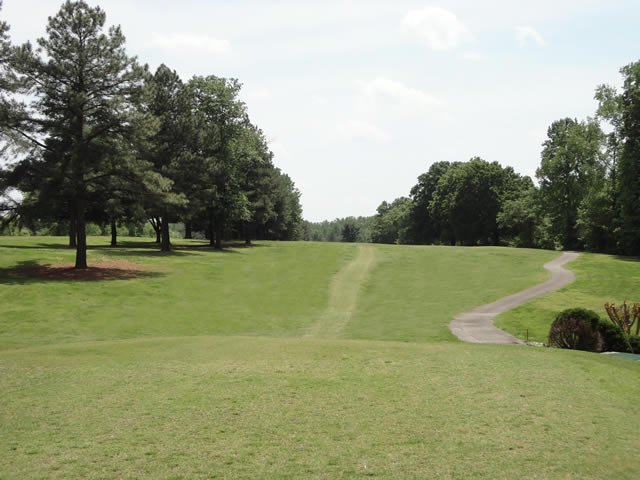
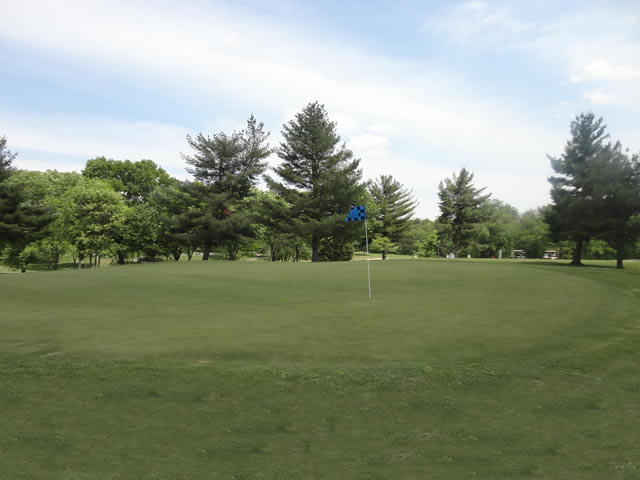
Our #1 handicap hole on the course is a very challenging par 4. The tree lined fairway with out of bounds to the right requires the most accurate tee shot of the day. With sand traps on both sides of one of the bigger greens on the course, this can be a hole that makes or breaks your round.
Click on the image below to view a larger version.
The Tee Shot
The Approach

The Green
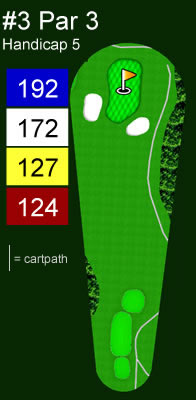
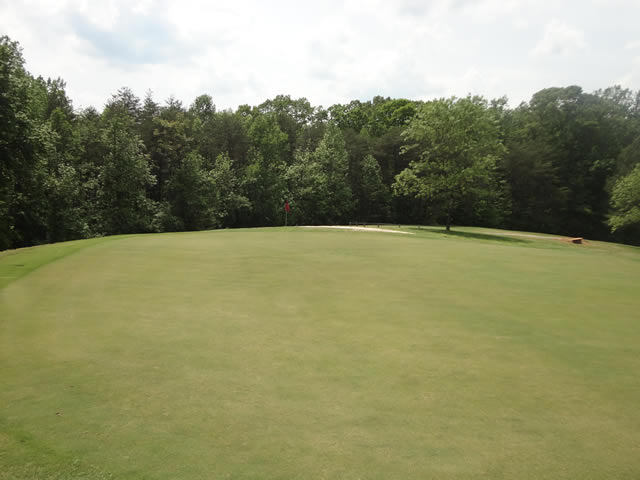
Hole #3
This sloping par 3 has a sand traps on the front right and left side of the long narrow green. A fun yet challenging hole.
Click on the image below to view a larger version.
The Tee Shot
The Green

Hole #5
One of our easier par 4’s, this can be a very good birdie opportunity if you hit a good tee shot in the fairway. You will have an uphill second shot to a fair green.
Click on the image below to view a larger version.
The Tee Shot

The Approach
The Green
Page 1 of 2
- You are here:
-
Home

-
News & Events
-
Tour the Course
- Front 9