Latest News & Upcoming Events
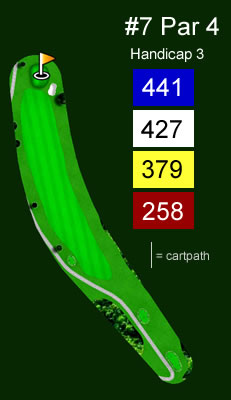
Hole #7
Our #2 handicap hole requires an accurate tee shot in order to reach the green on the approach. A par on this hole can feel like a birdie. Good luck!
Click on the image below to view a larger version.
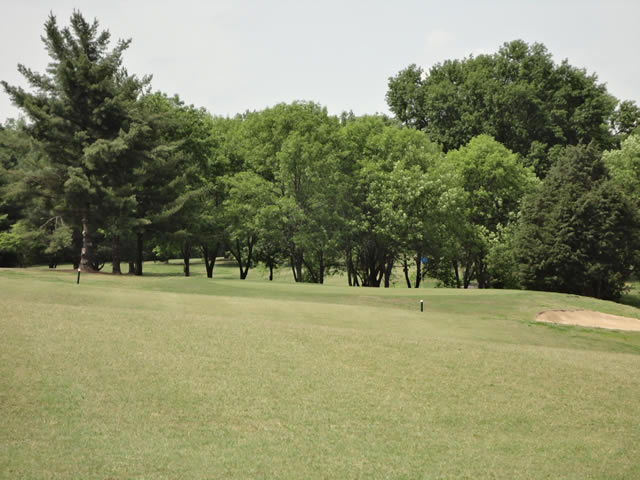
The Tee Shot

The Approach
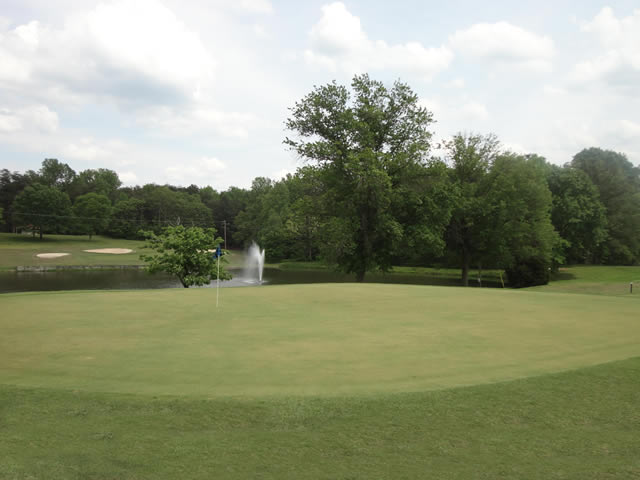
The Green
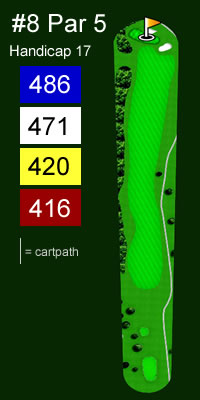
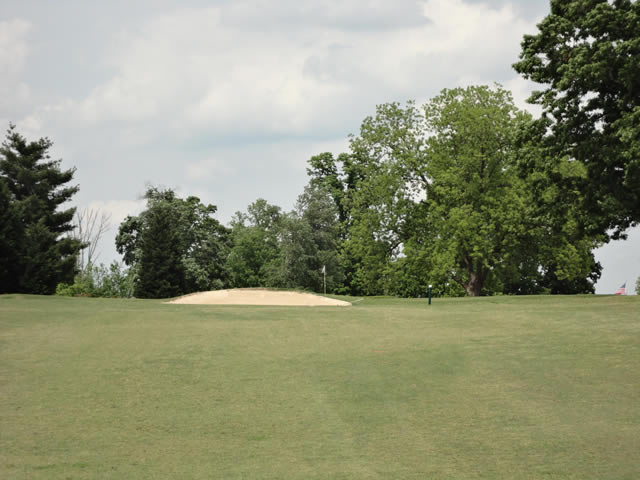
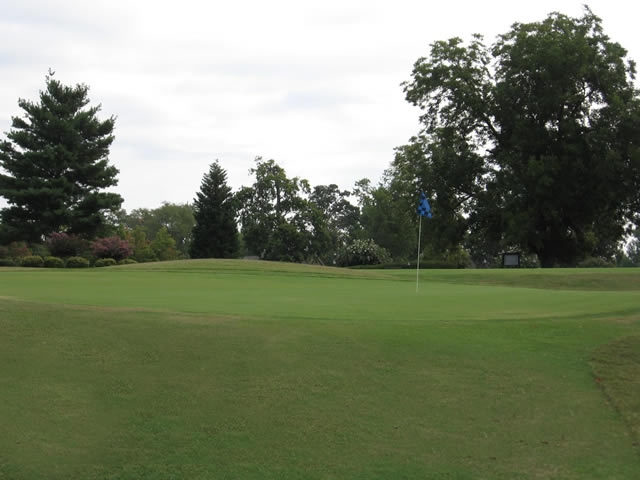
Hole #8
An uphill par 5 that is easily reachable in two with a good tee shot. The green is a very small peanut shaped landing area that is very difficult to hold the ball on. An uphill putt is ideal, and if you have a downhill putt you will need to have a confident read.
Click on the image below to view a larger version.
The Tee Shot
The Approach

The Green


Hole #6
This downhill par 3 is short yet difficult. With a large grass bunker short and right of the green, and also traps on the left and entire back of the green, you must have a delicate touch to keep the ball on the putting surface.
Click on the image below to view a larger version.
The Tee Shot

The Green
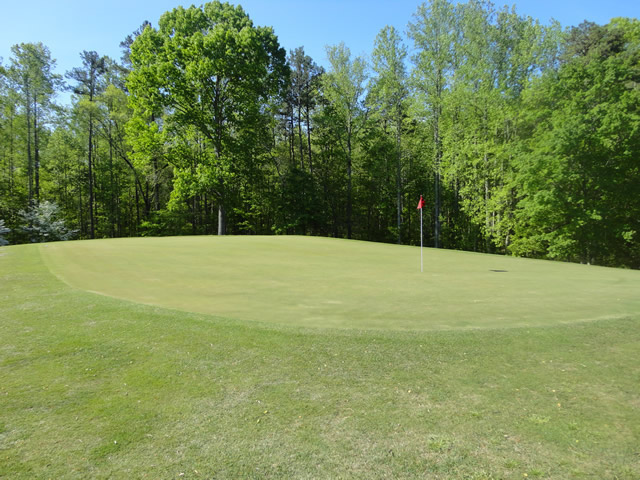
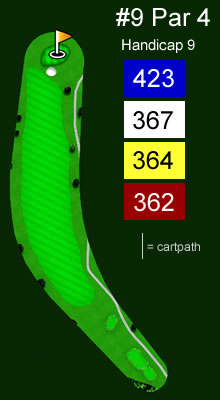
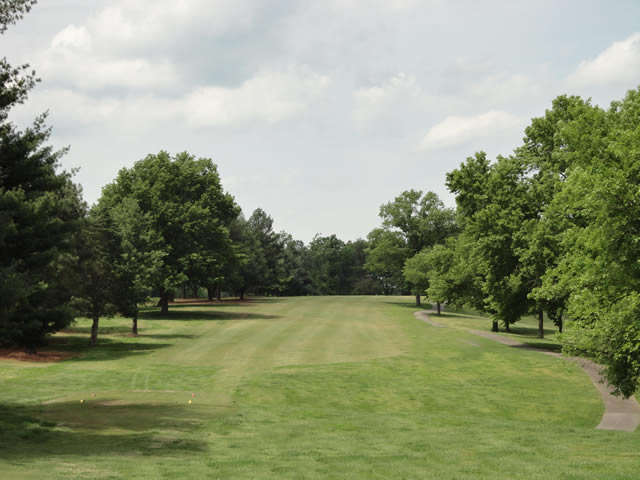
Hole #9
A slight dog leg right for the last hole on the front nine. A short par 4 that can be a birdie hole if you clear the very large bunker that looms in front center of the green. Trajectory will play a very important role with shot selection coming into the green.
Click on the image below to view a larger version.
The Tee Shot
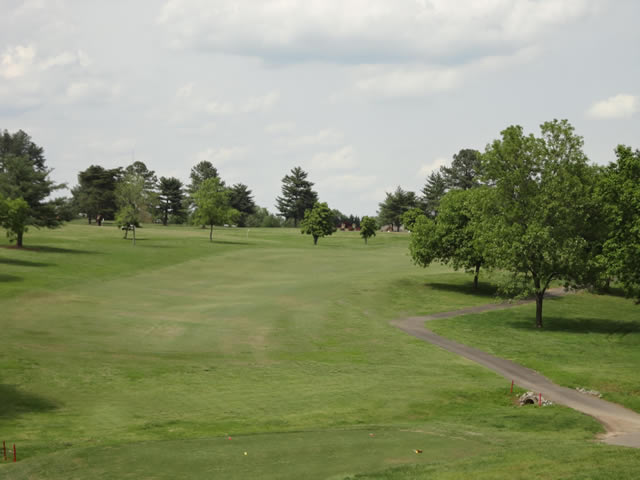
The Approach
The Green
Page 2 of 2
- You are here:
-
Home

-
News & Events
-
Tour the Course
- Front 9