Latest News & Upcoming Events
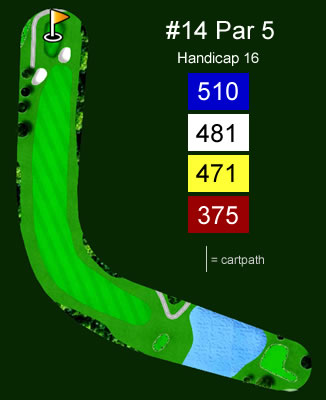
Hole #14
A par 5 that doglegs to the right. Your tee shot will be key to having an opportunity to reach the green in two. Sand traps will flank the front of the green and a water hazard will be in play to the right. Ball placement will be very important in determining your final score.
Click on the image below to view a larger version.
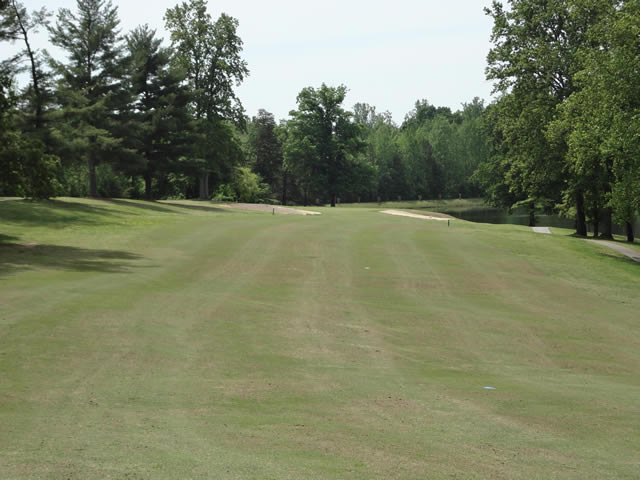
The Tee Shot

The Approach
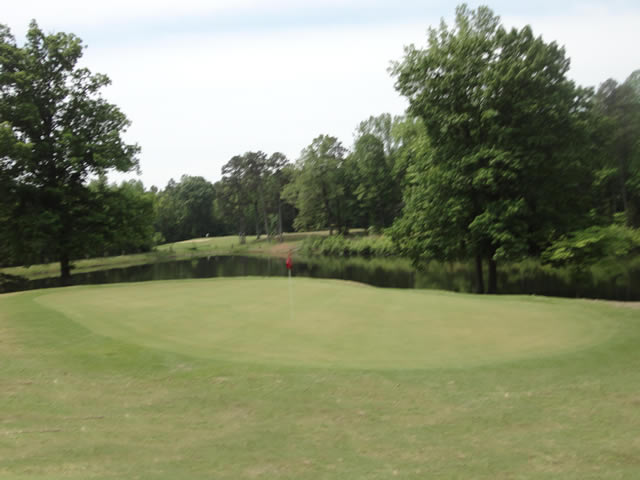
The Green
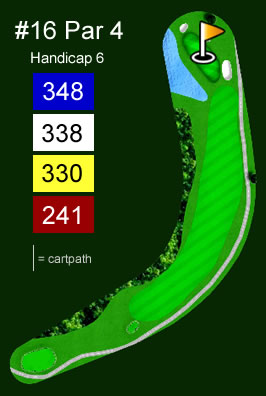
Hole #16
This par 4 that doglegs left is a very interesting hole. You can choose to have a risk or reward tee shot and cut the corner or play it safe down the middle. The green has sand traps at both sides and in the back. You will have to clear a water hazard in front of the green. By all accounts the best looking golf hole on the course once you reach the green.
Click on the image below to view a larger version.
The Tee Shot
The Approach
The Green
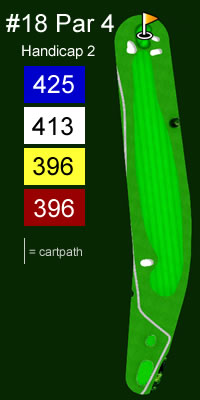
Hole #18
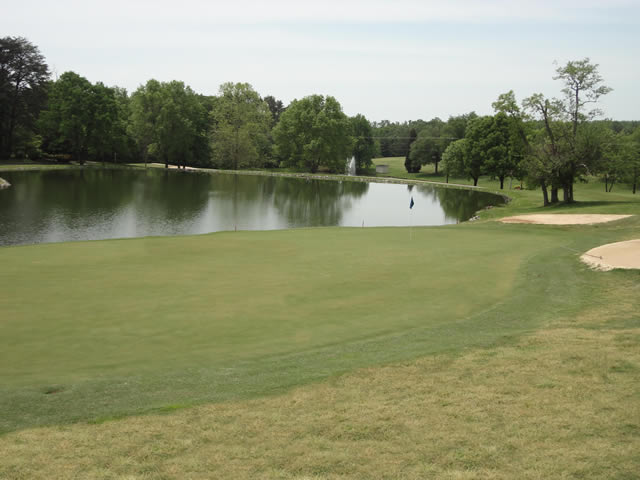
Our finishing hole is a par 4 that can be reached in two with a short iron. The green has sand traps to the front left and flanking the right side of the green. The green slopes from front to back and has two distinct levels. A par on this hole can be very rewarding.
Click on the image below to view a larger version.
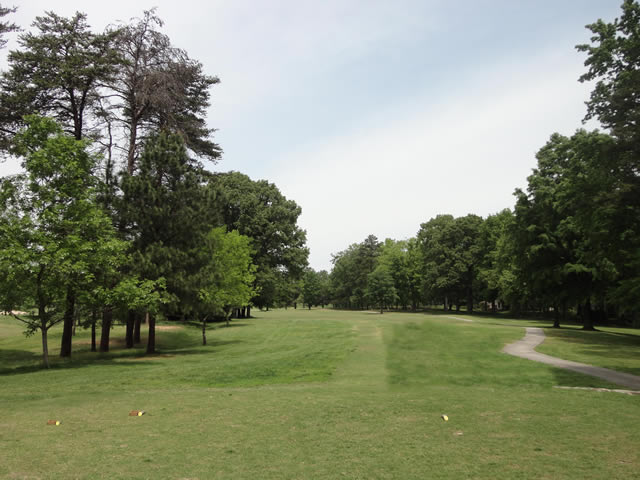
The Tee Shot
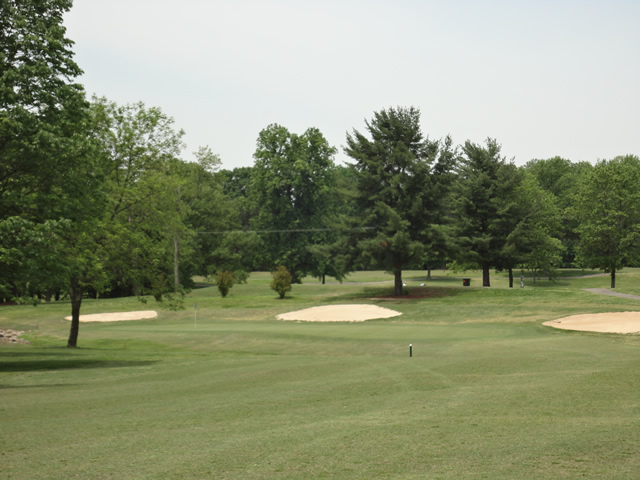
The Approach

The Green
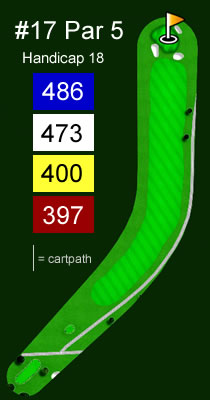
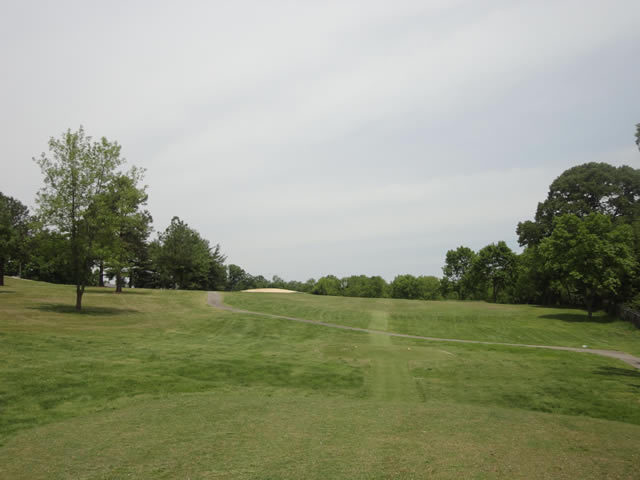
Hole #17
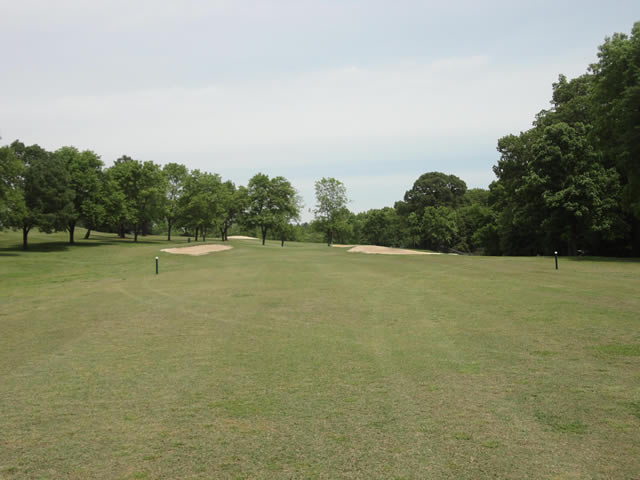
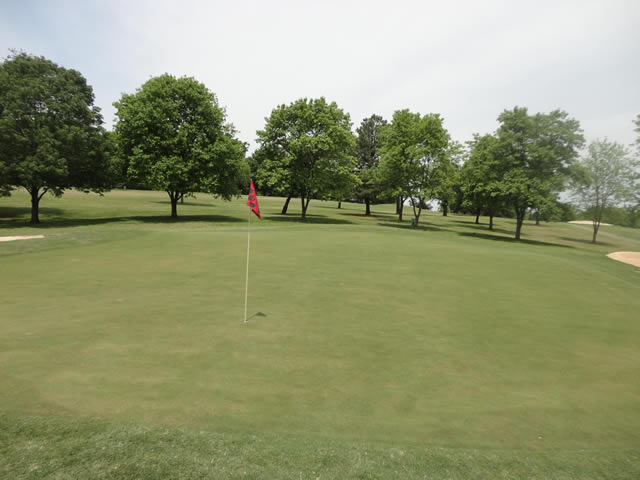
A par 5 that doglegs to the left. In the old days you could cut the corner for a risk or reward tee shot, but now that the trees have grown, playing it safe will be your best shot. With sand traps to the left and right of the green, you will have to thread the needle to this make or break par 5.
Click on the image below to view a larger version.
The Tee Shot

The Approach
The Green
Page 2 of 2
- You are here:
-
Home

-
News & Events
-
Tour the Course
- Back 9